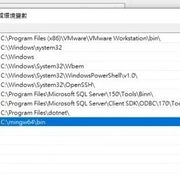
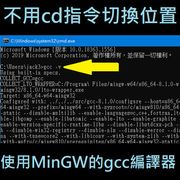
接續之前寫的,在Windows上開發標準C語言程式的前置準備,設定好MinGW-w64後,安裝並啟動Visual Studio Code,這裡以1.73版本當範例
Step1:安裝一些方便開發的輔助外掛工具,搜尋c++即可在第一頁看到
Step2:在專案資料夾內建立.vscode資料夾
Step3:影片08:57和影片10:24,按F1,找到並設定C/C++: Edit Configurations (UI),編譯器選擇MinGW-w64的gcc,產生c_cpp_properties.json檔
Step4:影片10:50,按F1,找到並設定Configure Default Build Task,產生tasks.json檔
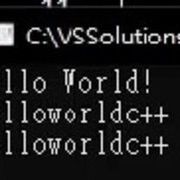
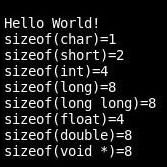
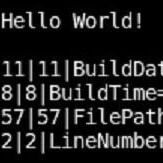
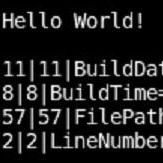
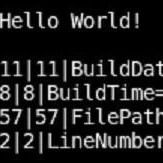
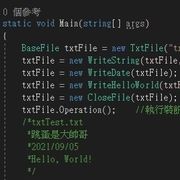
Step5:按Ctrl+Shift+B,編譯專案,成功會在專案資料夾內產生.exe執行檔
Step6:影片11:22,按F5,第一次偵錯,選擇C++ (GDB/LLDB),出現和設定launch.json,存檔
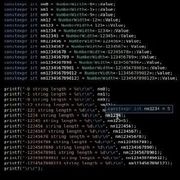
設定好c_cpp_properties.json,tasks.json,launch.json,即可開始開發/編譯/偵錯C語言寫的程式
產生的.exe檔,基本上可以搬移到其他沒有MinGW-w64的Windows上執行
除非是呼叫只有特定作業系統支援的API,否則一般的程式碼,應該不用修改,就能在Windows和Linux上編譯
20221129補充:
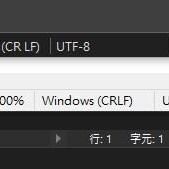
Visual Studio Code和Visual Studio操作上可能不同,譬如F5僅代表偵錯,而不是編譯+偵錯,因此要養成(Ctrl+Shift+B編譯)+(F5偵錯)的習慣
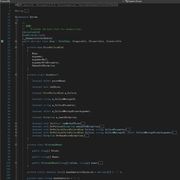
三個json範例如下:
c_cpp_properties.json:
{
"configurations": [
{
"name": "Win32",
"includePath": [
"${workspaceFolder}/**"
],
"defines": [
"_DEBUG",
"UNICODE",
"_UNICODE"
],
"windowsSdkVersion": "10.0.22000.0",
"compilerPath": "C:/mingw64/bin/gcc.exe",
"cStandard": "c11",
"cppStandard": "c++11",
"intelliSenseMode": "linux-gcc-x64"
}
],
"version": 4
}
tasks.json:
{
"version": "2.0.0",
"tasks": [
{
"type": "cppbuild",
"label": "C/C++: g++.exe 建置使用中檔案",
"command": "C:\\mingw64\\bin\\g++.exe",
"args": [
"-fdiagnostics-color=always",
"-g",
"${file}",
"-o",
"${fileDirname}\\${fileBasenameNoExtension}.exe"
],
"options": {
"cwd": "${fileDirname}"
},
"problemMatcher": [
"$gcc"
],
"group": {
"kind": "build",
"isDefault": true
},
"detail": "編譯器: C:\\mingw64\\bin\\g++.exe"
}
]
}
launch.json:
{
"version": "0.2.0",
"configurations": [
{
"name": "(gdb) Launch",
"type": "cppdbg",
"request": "launch",
"program": "${workspaceFolder}/UnitTest.exe",
"args": [],
"stopAtEntry": true,
"cwd": "${workspaceFolder}",
"environment": [],
"externalConsole": true,
"MIMode": "gdb",
"miDebuggerPath": "C:\\mingw64\\bin\\gdb.exe",
"setupCommands": [
{
"description": "Enable pretty-printing for gdb",
"text": "-enable-pretty-printing",
"ignoreFailures": true
}
]
}
]
}